 how-to
Make Your Multi-Story Home Accessible for Seniors
Table of Contents
- Assess Your Home and Mobility Needs
- Choose the Right Stairlift for Seniors
- Making a Split-Level Home Accessible
- Home Modifications for Seniors Beyond Stairs
- Senior Home Safety Checklist and Prioritization
- Phased Renovation Planning and Funding Options
- Frequently Asked Questions
Last Updated: October 10, 2026
Assess Your Home and Mobility Needs
Making a multi-story home accessible seniors starts with honest assessment of what modifications will help. You need to understand what mobility challenges exist and what modifications will actually help. This isn't about guessing, it's about matching solutions to real needs.
Start by walking through your home with fresh eyes. Which stairs cause the most difficulty? How many times per day does someone need to access the upper or lower floors? Are there bathroom issues, narrow doorways, or poor lighting creating safety risks?
Consider these key questions:
- How many floors does your home have?
- Which rooms are most essential on each level?
- What mobility aids does the person currently use (cane, walker, wheelchair)?
- Are there any recent injuries, surgeries, or conditions affecting movement?
- What's the budget range for modifications?
Document the physical layout. Measure staircase width, step height, and hallway clearance. Take photos of problem areas. This information helps professionals assess what solutions will actually work in your specific home. Some homes have narrow staircases or unusual angles that limit options, knowing this upfront prevents costly surprises later.
Choose the Right Stairlift for Seniors
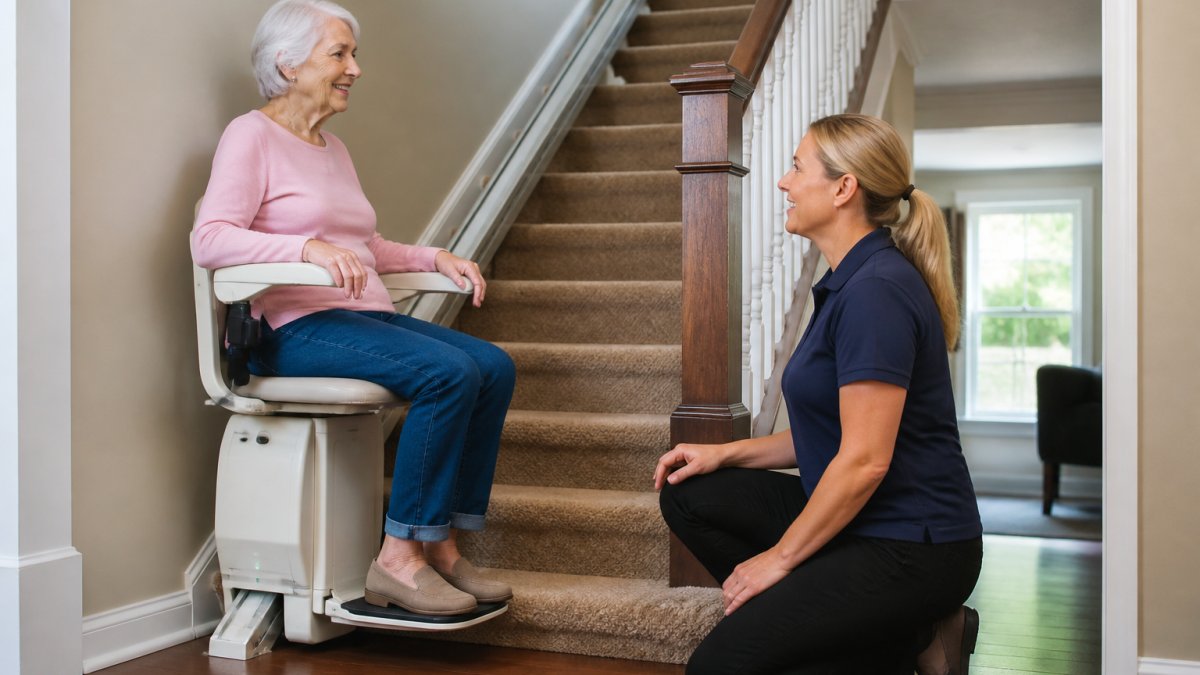
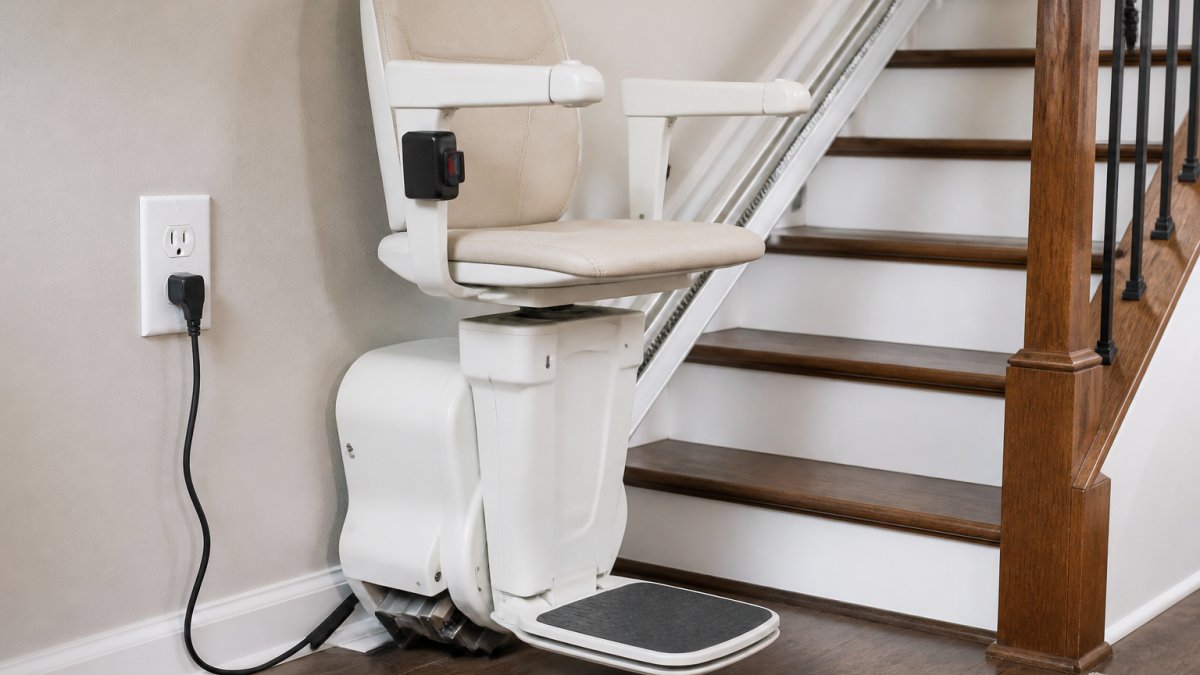
A stairlift is often the most effective solution for multi-story home accessibility. It lets someone navigate stairs safely without physical strain. But not all stairlifts work the same way, and your home's specific layout matters.
Straight staircases are simpler. The stairlift track runs directly up the stairs with no turns. Installation is faster, and the chair design is straightforward. Most homes have straight stairs, which makes this the most common option.
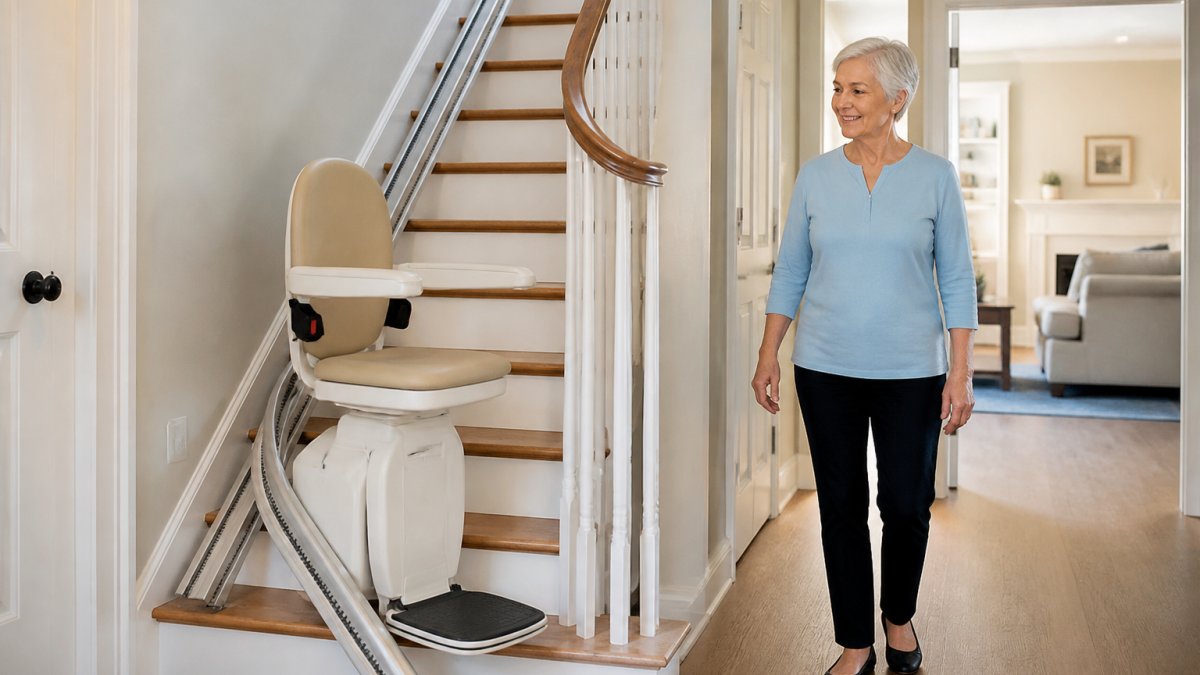
Curved staircases require a custom-fitted stairlift. The track follows the curve of your stairs precisely. This costs more and takes longer to install, but it's the only solution for homes with curved or winding stairs.
Consider these practical factors:
- Seat comfort: Look for padded seating and armrests that support safe transfers
- Safety features: A stairlift should have a secure harness, footrest, and emergency backup power
- Ease of use: Simple controls matter, especially for seniors with limited dexterity
- Narrow staircases: If your stairs are tight, confirm the stairlift fits without blocking passage for others
- Power source: Battery-backed stairlifts work during power outages; plug-in models depend on electricity
CT Stairlifts provides solutions designed to help individuals regain access to every floor of their home. By offering specialized stairlift installations, the company focuses on improving mobility and independence for homeowners. Their services are tailored to ensure that navigating your home remains safe and convenient.
Making a Split-Level Home Accessible
Split-level homes present unique challenges. You have stairs between every floor transition, and a single stairlift may not solve the whole problem. Strategic planning is essential.
Prioritize which level gets the stairlift first. Most families choose to install one between the main living area and bedrooms. This ensures someone can access sleeping quarters safely. A second stairlift between the main floor and basement comes later if needed.
Some families relocate essential rooms instead of installing multiple stairlifts. Moving the primary bedroom to the main floor eliminates the need to navigate stairs daily. This is often cheaper than a second stairlift and simplifies daily life.
Consider these options:
- One stairlift on main stairs: Solves the biggest mobility barrier but leaves other levels less accessible
- Two stairlifts: Full multi-level access but higher cost and more complex installation
- Relocate essential rooms: Bedroom and bathroom on one level reduces daily stair use
- Combine approaches: A stairlift plus room relocation often balances cost and accessibility
Bathroom access matters too. If the only full bathroom is upstairs and the person rarely leaves the main floor, adding a half-bath downstairs might be more practical than a stairlift.
Home Modifications for Seniors Beyond Stairs
Stairs are only part of the accessibility puzzle. A truly accessible home removes barriers throughout. These modifications work together to create safe, independent living.
Bathroom Safety and Accessible Bathing
Bathrooms are where falls happen most. Wet surfaces, narrow spaces, and hard fixtures create risk. Smart modifications transform a bathroom into a safe zone.
Grab bars are non-negotiable. Install them near the toilet and inside the shower. They need to be securely anchored to wall studs, not just drywall. Bars should be 1.25 to 1.5 inches in diameter, smooth, and positioned at comfortable height (usually 33-36 inches from the floor for grab bars, 48 inches for towel bars that aren't weight-bearing).
Walk-in showers eliminate the step-over barrier of a traditional tub. A zero-threshold or curbless entry means no tripping hazard. Add a shower seat so someone can bathe while seated. A handheld showerhead gives control and reduces the need to reach or turn.
Consider these modifications:
- Grab bars: Install at toilet and inside shower, securely anchored
- Shower seat: Removable or permanent, depending on preference
- Non-slip flooring: Textured tile or rubber matting reduces slipping
- Lever-style faucet handles: Easier to operate than round knobs, especially with arthritis
- Raised toilet seat: Reduces the distance from standing to sitting
- Adequate lighting: Bright, shadow-free lighting prevents missteps
Ventilation matters too. Moisture buildup creates slippery surfaces and mold. A functioning exhaust fan keeps the bathroom dry and safe.
Entry Ramps and Step-Free Entrances
Front door steps are the first accessibility barrier. A ramp replaces steps with a gradual slope that wheelchairs, walkers, and aging joints can manage.
Ramp slope should be 1 inch of rise per 12 inches of run (a 1:12 ratio). This means a 12-inch-high step requires a 12-foot ramp. Steeper ramps are harder to navigate and potentially unsafe. Width should be at least 36 inches, or 48 inches if two people need to pass.
Surface matters. Concrete is durable but can be slippery when wet. Textured concrete or rubberized coating improves grip. Avoid ramps that are too smooth or too steep.
Key ramp features:
- Proper slope: 1:12 ratio (1 inch rise per 12 inches of length)
- Handrails: Required on both sides if the ramp is more than 6 inches high
- Non-slip surface: Textured concrete or coated material
- Level landing: At top and bottom for safe transitions
- Adequate width: At least 36 inches for single-person passage
Consider the approach too. If the ramp is exposed to weather, ice and snow removal becomes critical. A covered ramp or one positioned to catch less precipitation simplifies maintenance.
Clear Pathways and Trip-Hazard Reduction
Clutter and obstacles create falls. Clear pathways are simple but essential modifications.
Remove throw rugs and low-pile carpeting. These catch feet and create tripping hazards. If carpeting is necessary, choose low-pile, well-secured options. Better yet, use smooth, non-slip flooring like vinyl or sealed concrete.
Furniture arrangement matters. Pathways should be at least 36 inches wide. Keep hallways clear. Store items at eye level or waist level, not on the floor or high shelves that require reaching or bending.
Lighting is critical. Dark hallways and stairs cause falls. Install bright overhead lighting in hallways, stairwells, and bathrooms. Add motion-sensor lights in hallways and bathrooms for nighttime navigation. Consider glow-in-the-dark tape on stair edges to mark steps clearly.
Trip-hazard reduction checklist:
- Remove throw rugs and loose carpeting
- Keep hallways and pathways clear of clutter
- Secure electrical cords along walls, not across walkways
- Install adequate lighting in all hallways and stairs
- Mark stair edges with high-contrast tape
- Use nightlights or motion-sensor lighting for after-dark safety
Grab Bars, Handrails, and Door Hardware
These simple modifications provide stability and independence. They're inexpensive but make a real difference in daily safety.
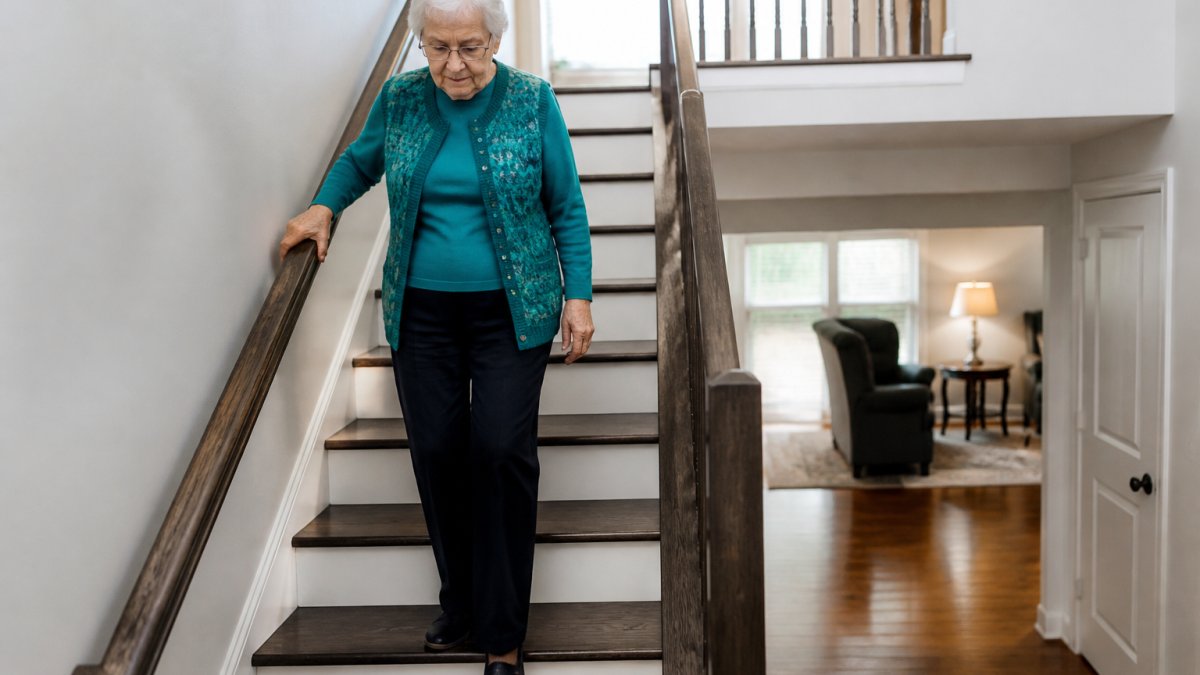
Handrails on stairs should be continuous and at consistent height (34-38 inches). They need secure mounting and smooth surface. Someone should be able to grip firmly without sharp edges.
Grab bars in bathrooms and hallways do the same job. They're shorter than handrails but serve the same purpose: providing something stable to hold during movement. Install them where someone naturally reaches for support, near toilets, in showers, at the top and bottom of stairs.
Door hardware affects accessibility too. Lever-style handles are easier to operate than round knobs, especially for people with arthritis or limited hand strength. Consider lever handles for interior doors and exterior entry doors.
Doorway width matters. Standard doorways are 32 inches wide, which is tight for walkers or wheelchairs. Widening doorways to 36 inches accommodates mobility aids. This is a larger renovation but worth it for frequently used doors.
Hardware improvements:
- Lever handles: Easier to grip and operate than round knobs
- Handrails on stairs: Continuous, smooth, securely mounted
- Grab bars: Installed where needed for balance and support
- Wider doorways: 36 inches minimum for accessibility
- Electric door openers: Optional but helpful for people with limited hand strength
Senior Home Safety Checklist and Prioritization
Not every modification needs to happen at once. Prioritize based on immediate risk and daily impact.
Start with the biggest safety threats:
- Stairs: If someone struggles with stairs daily, a stairlift is the priority
- Bathrooms: Falls happen here most, grab bars and non-slip surfaces come next
- Lighting: Poor lighting causes falls throughout the home
- Clear pathways: Remove clutter and tripping hazards
- Entry access: Ramps or threshold removal if entering is difficult
- Handrails: Add where someone naturally needs support
- Door hardware: Upgrade to lever handles for easier operation
- Flooring: Replace slippery surfaces with non-slip options
Create a safety audit. Walk through each room and note hazards. What causes the most concern? What creates daily frustration? Start there.
Safety checklist:
- Stairs are safe to navigate or a stairlift is installed
- Bathroom has grab bars, non-slip flooring, adequate lighting
- Hallways and pathways are clear and well-lit
- Entry is accessible without dangerous steps
- Handrails are installed where needed
- Door handles are easy to grip and operate
- Flooring is secure and non-slip throughout
- Lighting is adequate in all areas, especially stairs and bathrooms
- Emergency exit routes are clear and accessible
Phased Renovation Planning and Funding Options
Making a multi-story home accessible for seniors is often a phased project. Spreading modifications over time manages cost and allows priorities to shift as needs change.
Phase one typically addresses the biggest safety risks: stairs (if necessary), bathroom safety, and lighting. These modifications have the highest impact on daily safety and independence.
Phase two adds convenience: wider doorways, lever handles, additional grab bars, ramps. These improve quality of life and reduce strain.
Phase three handles optional upgrades: additional stairlifts, room relocations, or specialized equipment.
Funding options include:
- Out-of-pocket payment: Budget for modifications over time
- Home equity loans: Borrow against home value for larger projects
- Grants and assistance: Some states and nonprofits offer funding for senior home modifications
- Insurance: Check whether Medicare or supplemental insurance covers certain modifications
- Contractor financing: Some companies offer payment plans
Research what's available in your area. Many states have aging-in-place programs or grant funding. Nonprofits focused on senior services may offer low-cost installation or materials.
Document everything. Keep receipts and photos of modifications. Some improvements may be tax-deductible as medical expenses if they're recommended by a healthcare provider.
Making a multi-story home accessible seniors doesn't mean leaving it. Strategic modifications let people stay in their homes while moving safely and independently. Start with honest assessment of what's needed.
Frequently Asked Questions
Are stairlifts a good option for seniors who have trouble using stairs?
Stairlifts are one of the most effective ways to regain access to multiple floors when stairs become unsafe. They accommodate most stair configurations and mobility levels. However, the right choice depends on your home layout, budget, and whether you need a permanent or temporary solution. A professional assessment can determine if a stairlift fits your stairs and meets your specific mobility needs.
What home modifications can help seniors age in place?
Key modifications include stairlifts or residential elevators for multi-story access, grab bars and handrails throughout, bathroom safety upgrades like walk-in showers and raised toilet seats, entry ramps to eliminate steps, widened doorways for mobility aids, improved lighting, slip-resistant flooring, and lever-style door handles. The right combination depends on your mobility needs and home layout. Start with the areas you use most frequently.
How much does it cost to make your house accessible for seniors?
Costs vary widely based on the scope of modifications. A single grab bar costs far less than a stairlift or residential elevator. Consult with a contractor for modifications to understand your total investment.
How do you make a split-level home more accessible?
Split-level homes present unique challenges because multiple elevation changes occur throughout the home. Priorities include installing a stairlift for the main stairs, relocating essential rooms like bedrooms to the entry level if possible, adding grab bars and handrails at all level transitions, improving lighting on stairs and landings, and considering a residential elevator if budget allows. An assessment helps identify which level changes affect daily living most.