 How-to
How to Choose the Right Stairlift Seat for Joint Pain
Last Updated: November 17, 2026
Quick Summary
Choosing the right stairlift seat for joint pain means matching seat height, depth, padding, and swivel to your specific joints, then testing the fit on your own stairs. A well-fitted seat on a basic lift serves painful joints better than a premium lift with a poorly fitted seat.
- Set seat height so feet rest flat with knees roughly level with hips.
- Leave about two to three fingers of space behind your knee for correct depth.
- A swivel seat turns you toward the landing so you avoid twisting on stairs.
- Firm padding holds hips level better than the softest cushion available.
- Test the seat at home on your own stairs before you commit.
Table of Contents
- Why Seat Fit Matters More Than the Stairlift Itself
- Matching a Stairlift for Arthritis to Your Joint Needs
- Stairlift Seat Height Adjustment: Getting the Seat Right
- Seat Depth, Width, and Padding for Comfort and Pressure Relief
- How a Stairlift Swivel Seat Makes Transfers Safer
- Stairlift Safety Features That Support Painful Joints
- A Step-by-Step Seat Fitting Checklist and In-Home Trial
- Choosing the Right Stairlift Seat for Joint Pain
- Frequently Asked Questions
Why Seat Fit Matters More Than the Stairlift Itself
A stairlift seat is the part of the lift your body actually touches, so its fit decides whether the ride eases joint pain or adds to it. The motor and rail often get the attention, while the seat quietly determines daily comfort. Choosing the right stairlift seat for joint pain comes down to height, depth, padding, and how you get on and off. Below, we walk through exactly how to match each of those to your knees, hips, and back, and how to test a seat before you commit.
Most buyers start by comparing brands and rails. That is backwards. A well-fitted seat on a basic lift will serve painful joints better than a premium lift with a seat that sits too low or too deep.
Matching a Stairlift for Arthritis to Your Joint Needs
A stairlift for arthritis should reduce the effort of sitting, standing, and twisting, not simply carry you upstairs. The right seat limits how far you have to bend and how much weight your joints bear during each transfer. That means prioritizing three things: a seat height that lets you keep your feet flat, a swivel that turns you toward the landing, and firm padding that holds your hips level. Arthritis Foundation guidance on joint protection emphasizes reducing strain during daily movement, and a fitted seat applies that same principle to the stairs.
The joint doing the most work during a transfer is a useful starting point for seat setup. A seat that is perfect for a painful knee can be wrong for a painful hip, so the goal is not one "arthritis seat" but a seat adjusted to the joint that limits you most.
How Knee Pain, Hip Pain, and Back Pain Change the Choice
Knee pain pushes the seat higher, so you do not have to bend as deeply to sit or push as hard to stand. A seat set too low forces the knee through a deeper angle under load, which is the moment most people report pain. Raising the seat and keeping the feet flat on the footrest shortens that arc.
Hip pain favors a swivel seat and a slightly forward perch position that keeps the hip angle open. Twisting on the stairs is the movement most likely to catch a painful hip, so a seat that swivels to face the landing before you stand removes that twist. A deeper seat can press the hip into flexion; a shallower seat with an open hip angle is often more comfortable for long rides.
Back pain calls for firmer lumbar support and a seat depth that supports the thighs without pressing behind the knees. A soft cushion feels good for a minute, then lets the hips sink and the lower back round. Firm padding that keeps the pelvis level does more for a sore back than extra cushioning. A soft start and stop also matters here, because the jolt at each end of the ride is what jars a sensitive back.
Hand and grip pain changes a different part of the choice. If gripping a belt or holding a control lever hurts, look for a belt that fastens with one hand, armrests wide enough to push from, and controls mounted where you do not have to reach across your body. The same lift can suit knee, hip, back, and hand pain, but the seat setup will differ for each.
Watch out: it is easy to over-correct for one joint and create a problem for another, so confirm footrest contact after every height change.
Stairlift Seat Height Adjustment: Getting the Seat Right
Stairlift seat height adjustment sets the seat so your feet rest flat on the footrest with your knees roughly level with your hips. When the seat sits too low, standing up takes more force and stresses the knees. When it sits too high, your feet dangle and your legs cramp.
Ask for the height to be set during installation, not guessed at. A good goal is to be able to rise with a steady push and no rocking. MedlinePlus overview of mobility aids notes that correct fit is central to how well any mobility device works, and stairlift seats are no exception. For a seat-style alternative worth comparing, see our guide to the perch stairlift.
Seat Depth, Width, and Padding for Comfort and Pressure Relief
Seat depth should leave about two to three fingers of space behind your knee, so the edge never digs into the back of the leg. Too deep and you slide forward; too shallow and your thighs go unsupported.
Width matters for hip comfort and for bulky winter clothing. Padding should be firm enough to spread pressure but soft enough for longer rides. A common mistake is choosing the softest cushion available: it feels good for a minute, then lets your hips sink and your back round.
| Feature | What it does for joint pain | Watch for |
|---|---|---|
| Seat height | Keeps feet flat, eases standing | Too low strains knees |
| Seat depth | Supports thighs, protects knee crease | Too deep causes sliding |
| Seat width | Room for hips and clothing | Too narrow adds pressure |
| Padding | Spreads pressure, holds posture | Too soft sinks the hips |
| Lumbar support | Keeps the lower back neutral | Missing on basic seats |
How a Stairlift Swivel Seat Makes Transfers Safer
A stairlift swivel seat turns the seat toward the landing before you stand, so you step off facing forward instead of twisting on the stairs. That single feature removes the riskiest part of the ride: the turn at the top.
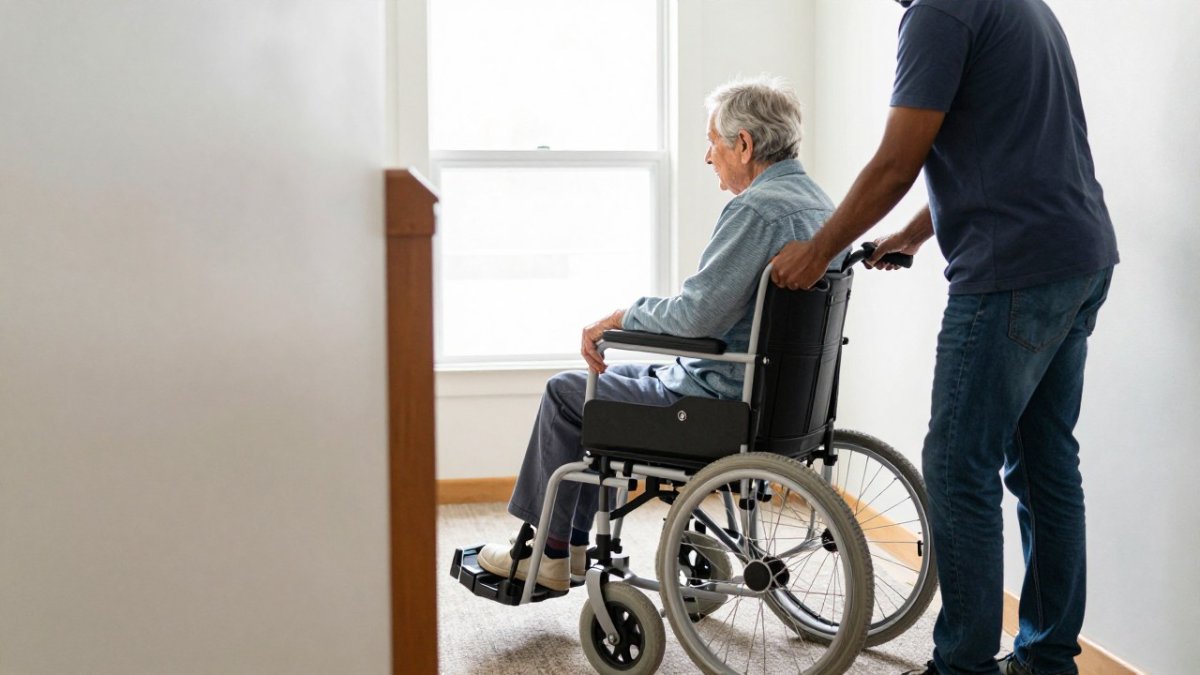
Many swivel seats lock in the forward position while the lift moves and release at the landing. For anyone with hip or knee pain, that means no twisting under load. If balance is a concern, a powered swivel that turns with a button reduces the reach and effort further.
Stairlift Safety Features That Support Painful Joints
Stairlift safety features do more than prevent falls; they protect joints during the moments that hurt most. A soft start and stop removes the jolt that jars a sore back. A folding seat and folding footrest keep the stairs clear for others in the home.
Other features worth asking about include a seat belt that fastens without a struggle, armrests you can push against when standing, and whether a battery backup is available so the lift keeps working if the power goes out. For a closer look at how these protect elderly users, read our guide to stairlift safety features for elderly users.
A Step-by-Step Seat Fitting Checklist and In-Home Trial
Fit is best confirmed in your own home, on your own stairs. Use this checklist during an in-home fitting or trial, and treat each item as a test you perform rather than a box you tick.
- Sit down and stand up three times; note any knee or hip strain. A seat that fits lets you rise with one steady push. If you rock forward or push off your toes, the seat is likely too low.
- Check that both feet rest flat on the footrest. Heels should touch, not dangle. If your feet hang, the seat is too high or the footrest needs to come up.
- Confirm two to three fingers of space behind the knee. Less means the seat edge digs into the leg; more means the thighs are unsupported and you will slide forward.
- Test the swivel at the top landing, facing forward. Turn the seat, then stand without twisting your hips or knees. If you still have to pivot on the stairs, the swivel is not doing its job.
- Push up from both armrests to stand. The armrests should take weight without wobbling, and your hands should land where you do not have to reach.
- Ride with a coat on to check seat width. Winter clothing adds bulk; a seat that fits in a shirt can press on the hips in a coat.
- Ask how height, depth, and armrests adjust as symptoms change. Adjustability is what lets the seat keep fitting if pain or mobility shifts.
- Confirm the seat folds clear of the hallway. A folded seat and footrest should leave the stairs usable for everyone else in the home.
A structured trial beats a showroom test every time. Before you commit, run through the movements you actually make at home: sit, stand, turn to face the landing, reach for the control, and step off. Ask the assessor to show you how each adjustment is made, because a seat that can be re-set later is more likely to stay comfortable as symptoms change. If you are still weighing models, our guide on how to choose the right stairlift for your home covers the wider decision, and our article on stairlifts for seniors with arthritis goes deeper on joint-specific needs. When you are ready, you can contact CT Stairlifts for current pricing and a quote.
Watch out: a trial on a showroom rail cannot reveal how the seat behaves on your own staircase, the pitch of the stairs, the landing space, and where the rail ends all change how you sit and stand, so insist on testing at home before you sign.
Choosing the Right Stairlift Seat for Joint Pain
Choosing the right stairlift seat for joint pain means matching height, depth, padding, and swivel to your specific joints, then testing the fit on your own stairs. Get those right and the lift becomes something you use without thinking about it.
CT Stairlifts provides stairlift installations designed to help you regain access to every floor of your home. Get started with CT Stairlifts and regain access to every floor of your home.
Frequently Asked Questions
Which stairlift seat features make sitting and standing easier with joint pain?
Focus on four features: an adjustable seat height that lets your feet rest flat on the floor, a swivel seat that turns you toward the landing before you stand, padded armrests you can push against, and a footrest that keeps your feet supported instead of dangling. Together these reduce the twisting and reaching that strain knees, hips, and backs. Ask a qualified provider about fitting the seat to your body, not a showroom model.
Are swivel seats helpful for people with arthritis?
Yes. A stairlift swivel seat rotates you at the top landing so you step off facing forward rather than twisting sideways. That matters for arthritis because twisting while rising puts extra load on knees and hips. Look for a seat that locks in the rotated position before you stand, and practice the transfer with the installer so the motion feels natural before you use it alone.
Can a stairlift seat be adjusted to fit my height and mobility needs?
Most seats allow stairlift seat height adjustment, and many adjust depth and armrest position as well. The goal is feet flat on the floor, thighs supported along their length, and your back against the backrest. If your condition changes, ask whether the seat can be re-adjusted rather than replaced. Confirm the specific adjustment range with the installer during your in-home assessment, since it varies by model.
How do you safely get on and off a stairlift with painful joints?
Back up to the seat until you feel it against your legs, reach back for both armrests, and lower yourself slowly rather than dropping. Keep your feet flat on the floor or footrest, then fasten the seat belt. At the top, swivel the seat to face the landing, confirm it is locked, and push up through the armrests. Ask the installer to walk through the transfer with you and any caregiver before your first solo ride.