 how-to
Stairlift Installation Process Explained
Table of Contents
- What Happens During the Stairlift Installation Process
- Straight vs. Curved Stairlift Installation: Key Differences
- Stairlift Space Requirements: What Your Staircase Needs
- Stairlift Electrical Requirements and Outlet Placement
- Stairlift Installation Time: How Long It Takes
- Permits, Building Codes, and Impact on Your Home
- How to Prepare Before Your Stairlift Installation Day
- Troubleshooting Common Post-Installation Issues
Last Updated: August 22, 2026
What Happens During the Stairlift Installation Process
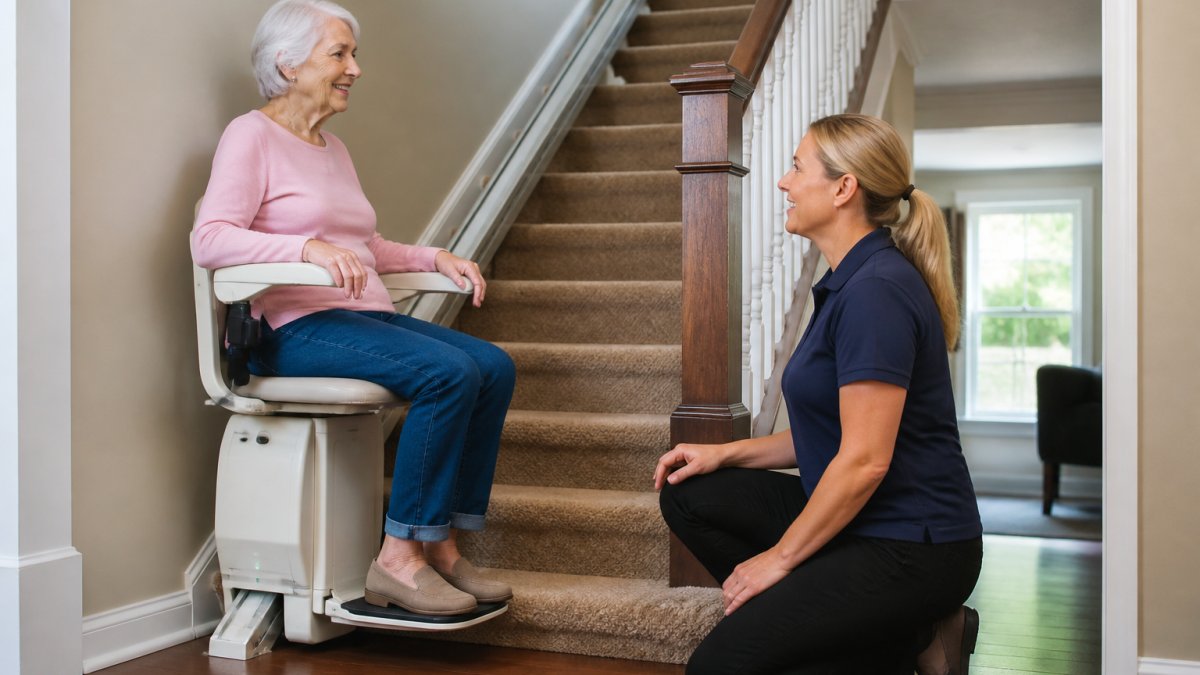
The stairlift installation process is a structured, professional procedure that transforms a standard staircase into an accessible route, typically completed in a single day by a trained technician. Understanding what to expect removes the anxiety.
Step 1: Site Survey and Staircase Assessment
A professional technician visits your home to assess the staircase configuration, measure the floor-to-floor rise, evaluate stair geometry, and identify structural considerations. This assessment determines whether a straight or curved stairlift is appropriate, confirms load-bearing capacity, identifies correct rail length and mounting bracket positions, and checks for obstructions and power supply access. Most staircase configurations can be accommodated with the right custom-fitted solution.
Step 2: Rail Assembly and Track Mounting
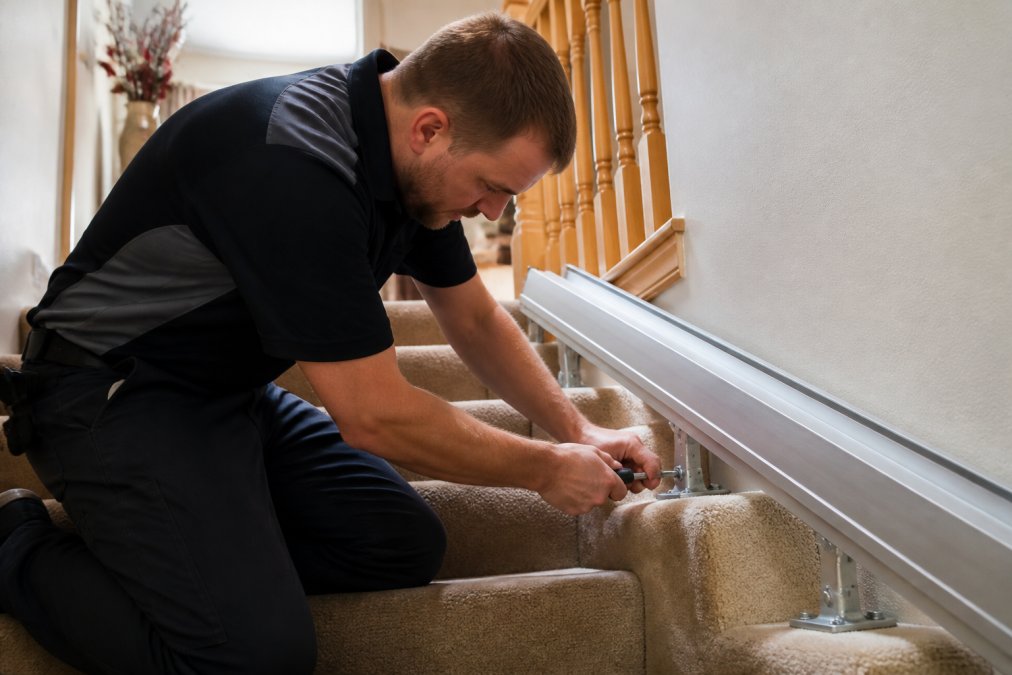
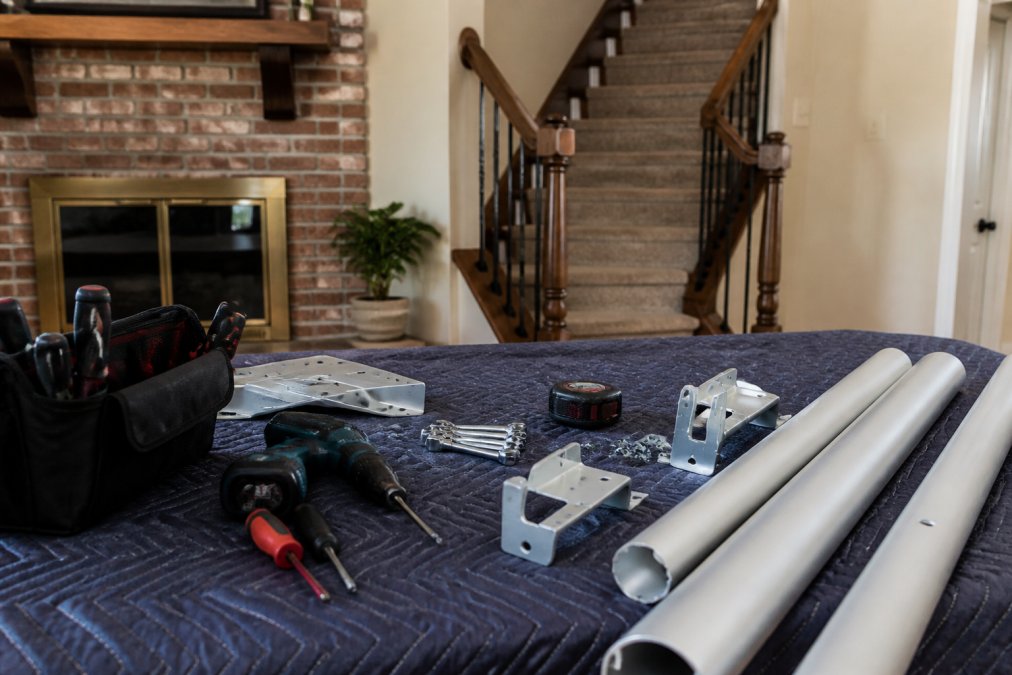
The stairlift track is the foundation of the entire system. The technician assembles modular rail sections on-site, fitting them precisely to the measured stair geometry. For straight stairlifts, the rail bolts directly to stair treads using tread-mounted brackets. Mounting brackets are secured at multiple points to distribute load evenly, and the rail is checked for alignment before further components are attached.
Step 3: Carriage and Seat Fitting
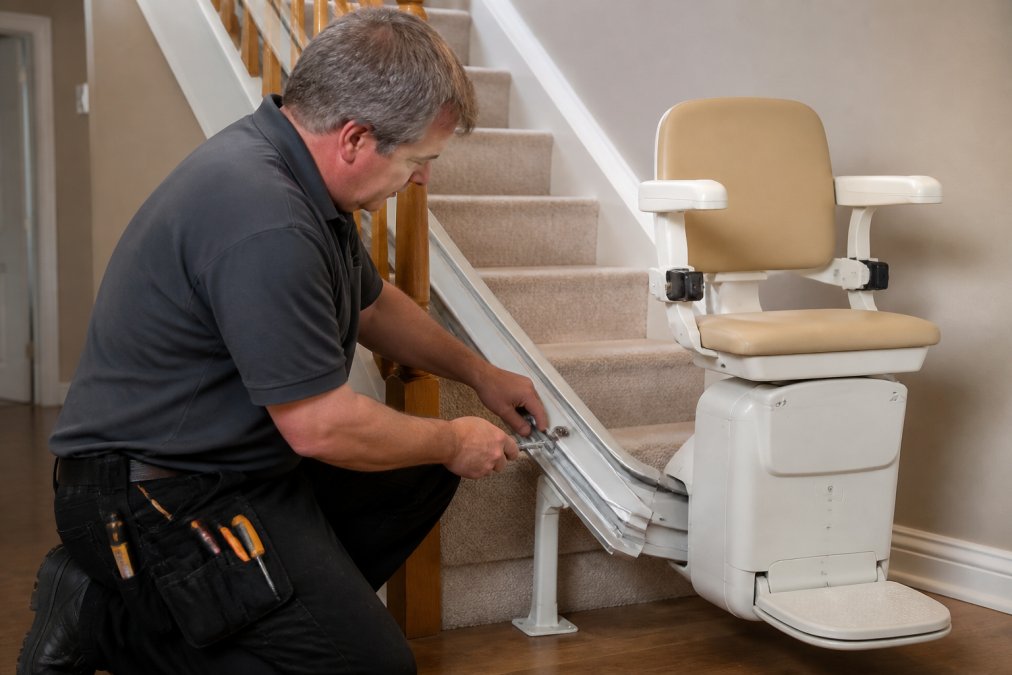
Once the track is secured, the carriage, the motorized unit that travels along the rail, is fitted and connected. The swivel seat, armrests, and footrest are attached and adjusted for comfort and safety. Obstruction sensors are installed to detect objects on the staircase and halt the carriage automatically. The emergency stop function is configured and tested.
Step 4: Final Calibration, Safety Checks, and User Demonstration
Final calibration involves running the stairlift through its full range of motion, verifying correct stops at both landings, and confirming all safety sensors respond as designed. The battery backup system is checked, and charging contacts are verified. The technician walks the homeowner through operating controls, using the swivel seat to dismount safely, and understanding indicator lights. A thorough demonstration ensures confident, anxious-free use.
Straight vs. Curved Stairlift Installation: Key Differences
A straight stairlift uses a single, linear track with standardized components, making installation simpler and faster. A curved stairlift requires a custom-fitted rail manufactured off-site after the site survey, adding lead time before installation. The on-site installation of a curved stairlift is more complex, requiring precise alignment and longer calibration.
For homeowners: straight staircases typically allow installation within a short period of ordering. Curved stairlifts require a manufacturing window between survey and installation. Both result in fully functional, custom-fitted systems.
| Feature | Straight Stairlift | Curved Stairlift |
|---|---|---|
| Rail type | Standardized modular rail | Custom-manufactured to stair geometry |
| Installation time | Typically a few hours | Longer; custom rail requires lead time |
| Staircase requirement | Single straight flight | Any configuration including bends and landings |
| Cost | Generally lower | Generally higher due to custom fabrication |
| Best for | Most common staircase layouts | Spiral, L-shaped, or multi-landing staircases |
Stairlift Space Requirements: What Your Staircase Needs
A stairlift requires a minimum clear tread width; your technician will confirm the exact measurement during the site survey. Vertical clearance is also required, the occupied seat must clear overhead obstructions such as low ceilings or door frames.
Tread-Mounted vs. Wall-Mounted Rails
Tread-mounted rails attach directly to stair treads, leaving wall finishes entirely unaffected. This is the standard method for most straight stairlifts. Wall-mounted rails are used for open-riser staircases or unusual structural conditions, requiring attachment to wall studs or load-bearing points. Both methods provide the same structural integrity when correctly installed.
Landing Zones and Clearance Requirements
The stairlift must park fully at both the top and bottom of the staircase without blocking doorways or creating hazards. The bottom landing zone needs clearance so the footrest does not create a trip hazard. The ADA National Network guidance on home accessibility modifications provides context on clearance standards, though specific requirements are determined by the manufacturer and confirmed during the site survey.
Stairlift Electrical Requirements and Outlet Placement
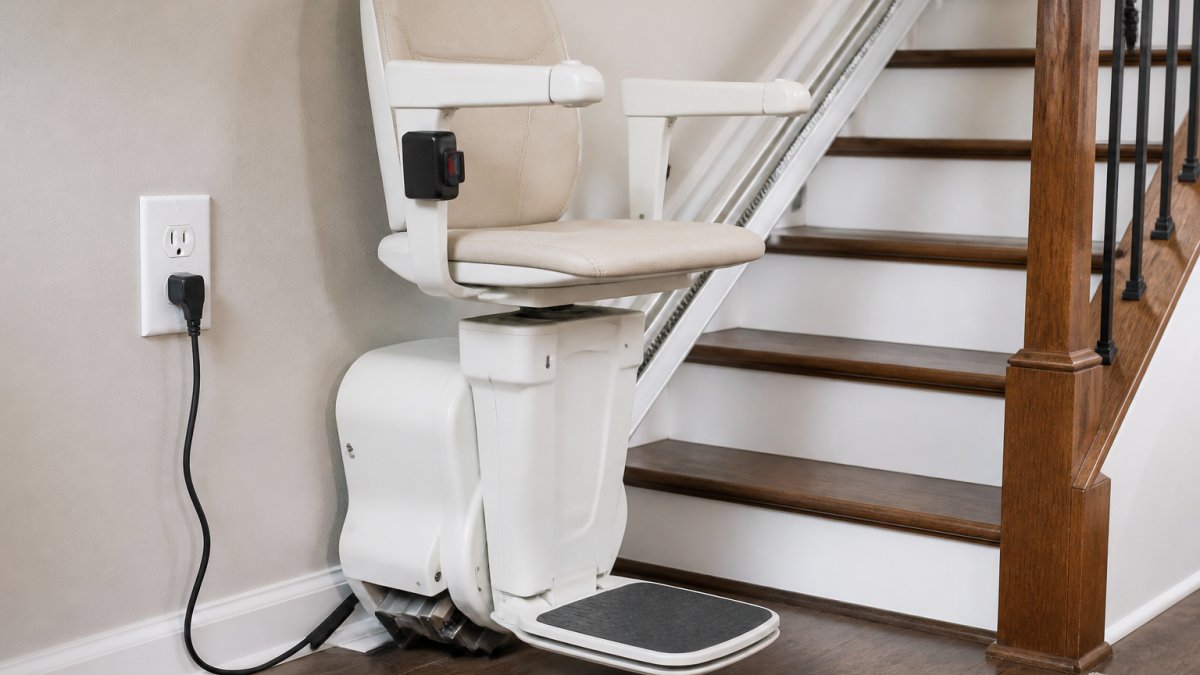
Most residential stairlifts operate on standard 120V household current, requiring a standard wall outlet near the base of the staircase, typically within a few feet of the bottom landing zone. If no outlet exists nearby, one will need to be installed before or during installation, a simple job for a licensed electrician.
The battery backup system means the stairlift is not directly plugged in during use. Batteries charge continuously when parked, and the stairlift operates from battery power during each trip. A power outage does not leave a user stranded; the unit continues operating on stored charge for multiple cycles.
According to the U.S. Consumer Product Safety Commission's guidance on home safety equipment, electrical connections should be installed by a qualified professional to meet local code requirements.
Stairlift Installation Time: How Long It Takes
Straight stairlift installation typically takes two to four hours from arrival to completion, including the user demonstration. Most homeowners have a fully operational stairlift by the end of a single morning or afternoon appointment.
Curved stairlift installation takes longer, commonly a full day, because the custom-manufactured rail requires more precise alignment and additional calibration. Factors extending installation time include electrical work, unusually long or steep staircases, structural complications, or multiple staircases being fitted simultaneously.
Permits, Building Codes, and Impact on Your Home
Most stairlift installations do not require a building permit, since tread-mounted rails attach to the staircase rather than making permanent building alterations. Permit requirements vary by municipality; confirm with your local building department before installation day.
The International Code Council's residential building code resources provides guidance on home modification codes, though your local authority having jurisdiction has the final word.
Impact on flooring and wall finishes is minimal for tread-mounted installations. Mounting brackets leave small footprints covered during use. If removed, attachment points can be filled and refinished without significant remediation. Wall finishes are unaffected in standard tread-mounted installations.
How to Prepare Before Your Stairlift Installation Day
Preparation on the homeowner's side is minimal but important:
- Clear the staircase completely. Remove rugs, runners, or stored objects. The technician needs unobstructed access to every tread.
- Confirm outlet access. Check for a working outlet within reach of the staircase base. If absent, arrange for an electrician to add one before installation.
- Note staircase quirks. Mention loose treads, unusual angles, or overhead obstructions to the technician at the start.
- Plan technician access. Ensure a clear path from the front door to the staircase.
- Have a family member present if possible. The user demonstration is more effective when the primary user is present to ask questions and practice.
- Write down questions in advance. Ask about weight limit, maintenance schedule, warranty terms, and battery backup duration while the technician is on-site.
Troubleshooting Common Post-Installation Issues
Most stairlift problems after installation are minor with straightforward causes.
The stairlift won't move. Check the key switch, it must be in the "on" position. Confirm the seat is fully swiveled to travel position and the footrest is folded up. Safety sensors prevent movement if the unit detects an incorrect configuration.
The stairlift stops mid-staircase. An obstruction sensor has likely detected something on the staircase. Check for objects or verify the footrest path is clear. If clear, check that charging contacts at the base are clean and making proper contact; low battery can cause early stops.
The battery isn't holding charge. Batteries have a service life and eventually need replacement as routine maintenance. For new units, confirm it parks correctly on charging contacts when not in use.
The swivel seat is stiff. This is usually a lubrication issue on the swivel mechanism, addressed by a technician during scheduled maintenance rather than by the user.
The remote control isn't responding. Check the remote battery first. If fine, confirm the key switch is on and the unit has power.
A regular maintenance schedule, typically annual for residential stairlifts, catches developing issues before they become failures. For broader guidance on home safety modifications, the National Institute on Aging's home safety resources offers practical information on fall prevention and accessibility planning.
Frequently Asked Questions
How long does it take to install a stairlift?
A straight stairlift installation typically takes two to four hours from start to finish. Curved stairlifts require a custom-fitted rail manufactured to match your specific stair geometry, so the installation appointment itself may run four to six hours or longer. The site survey, which happens before installation day, adds a separate visit. Overall, most homeowners have a fully operational stairlift the same day the technician arrives for the fitting.
Do stairlifts attach to the wall or the stairs?
In almost all residential installations, the stairlift track attaches to the stair treads, not the wall. Tread-mounted rails use mounting brackets secured directly into the stair structure, which means the wall finish stays intact. Wall-mounted systems exist but are less common and typically reserved for staircases where tread mounting is not structurally practical. Your technician will assess the staircase configuration during the site survey and recommend the right approach for your home.
What are the electrical requirements for a stairlift?
Most stairlifts run on standard 120-volt household current and draw very little power during operation. The unit charges continuously when parked at a landing zone, so a dedicated outlet near the top or bottom of the staircase is all that is typically needed. Many models include a battery backup system, which keeps the lift operational during a power outage. If no outlet is conveniently located near the staircase, a licensed electrician can add one before installation day.
Does a stairlift installation require a building permit?
Permit requirements vary by municipality. Many jurisdictions classify a stairlift as a plug-in appliance rather than a structural modification, meaning no permit is required. However, some local building codes do require a permit, particularly when electrical work is involved. Your stairlift provider should be familiar with local requirements and can advise you during the site survey. When in doubt, contact your local building department directly to confirm what applies to your home.
Navigating stairs safely is not a small concern, for many people, it determines whether they can remain in their own home. CT Stairlifts specializes in stairlift installation tailored to the specific layout and needs of your home, with a focus on improving mobility and independence for every homeowner. Reach out to CT Stairlifts to schedule a site survey and get a clear picture of what installation would look like for your staircase.
This article was written using GrandRanker